For all of you that alreay know my historical dolls project and for those who dont yet, I'd like to share with you a bit of my doll construction process.
Its been a long process on the making, diferent aproaches, diferent materials but now - maybe since 2 years by now - I've been totally devoted to paper mache.
Everything starts with these:

First of all I only do the whole head when the facial features are either finished or almost because depending on the epoch of the portrayed, sometimes there are two little things that need to be included (and annoying to sculpt) ears which are only made when both parts of the head (front and back) are assembled thus giving me more the sense of space. Mind you that for faces or hands in general I dont use paper mache, I use air drying modeling clay.
What I also use lots for filling spaces or modeling bodies is toilet paper. Either balls or rolls, it depends on the shape I want, the time and my patience.
Can't put photos of its beginings because when I started the following bust I wasn´t dreaming about blogging and posting, etc, but ... lets have a look eitherway!
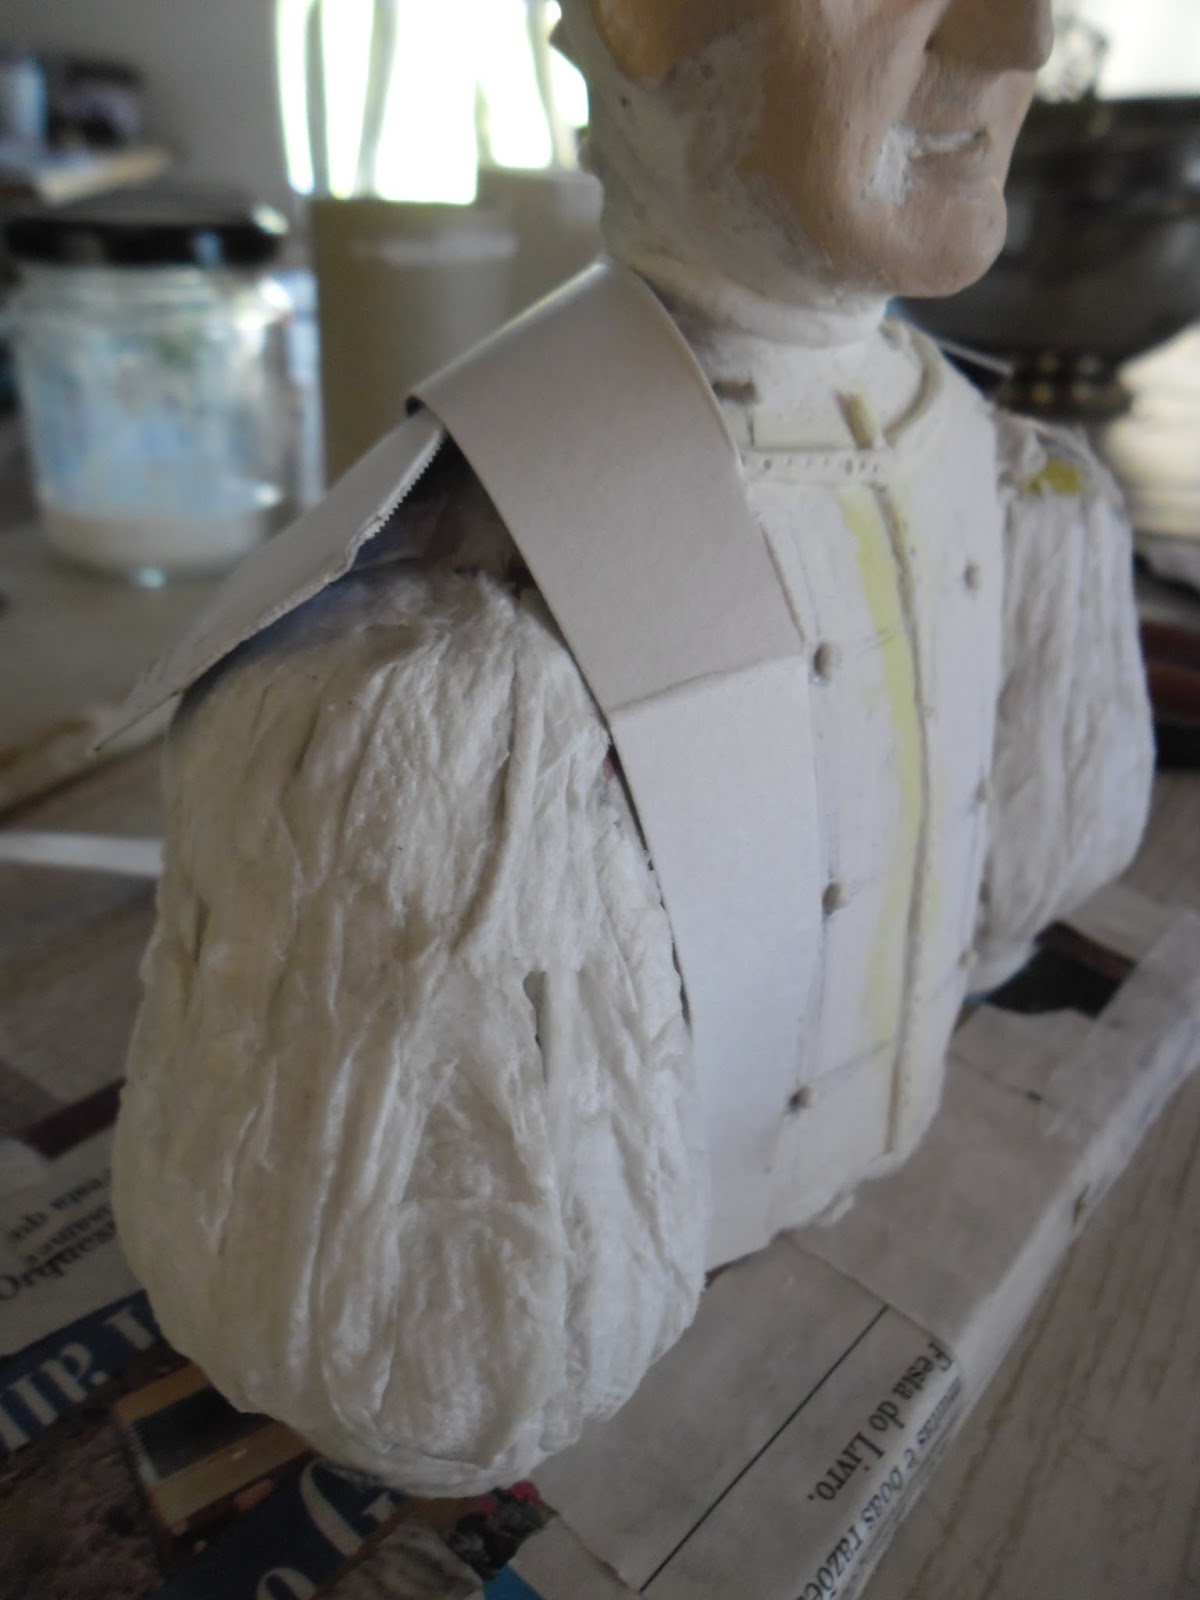
 So on this chap there's the head mostly finished (with ears!!), half of the torso slightly modeled with toilet paper. By now I was working on the arms. Because he's from the Renaissance period and his clothes have those puffed sleeves I thought that half a kinder surprise egg would do the primary trick (thats, for me, one of the funs with paper mache, in order to achieve a specific shape, anything goes for casts, right?).
As for the lower part of the sleeve too, just added some more paper in between the halves because of the arms length.


Whilst the back is drying, its time to work on the sleeves. (In the meantime I had covered his chest area with air drying modeling paste because as he would be wearing a brigandine I wanted a smooth surface).
As for again the sleeves I used two rolls of toilet paper on its base and the rest upwards which resulted quite well I must admit! Good old fluffy Renaissance sleeves! :))


As to adjust the figure's base its time to build a... base! And these are extremely easy, just two pieces of cardboard glued together by small strips of newspaper (it was by doing such that I "found" the way to make my so called "paper mache canvas" (do search the post about them!))
To represent the cloak's sort of collar I used cereal box cardboard for its "skeleton" and then added air drying modeling paste (because I was restless to finish this bit) and some toilet paper for the texture.

So ... after the figure's adjustment on its base, I cover it with liquid cold porcelain, its creates a bit more of stability and hardens the whole paper... thing.
Painting is often fun, I tend to give special care on the faces, specially the eyes - after painting them it feels as if the portrayed came back o life "Hi, welcome back Sir / Madame!"!
For beards and hair I use small toilet paper roll pieces which are glued onto the figure baring in mind its intended epoch. Then are painted whilst the paper is still moist.
The final touch is a coat of varnish!
By now you want to see the final result and, surely, know who the "chap" is, right? So I invite you to visit him and the rest of the sculpture collection at http://myroyaldolls.wixsite.com/myroyaldolls!
Could you find him? Let me know!
Thanks for visiting! :)
Sem comentários:
Enviar um comentário